First of all, we must study the difference between weather and climate because they're completely different concepts. According to NASA (https://climatekids.nasa.gov/menu/weather-and-climate/) "Weather is a specific event—like a rainstorm or hot day—that happens over a few hours, days or weeks. Climate is the average weather conditions in a place over 30 years or more."
Watch the following video to learn more about the differences between weather and climate:
Video credits: NASA Climate ChangeWhat's the difference between weather and climate?
Easier to read
Weather is a specific event. For example, a rainstorm or hot day. It happens over a few hours, days or weeks.
Climate is the average weather conditions in a place over 30 years or more.
Meteorological elements which determine the weather
Once we know the difference between weather and climate, we are going to focus on how to study the weather. When you watch the weather forecast on TV, there are certain elements that the weather person always describes.
Have a look at the following picture where you can find all the important elements that are taken into account when describing the weather:
If you want to know the speed of the wind or the temperature in a city, you need to use especial equipment. In the following game you will have to try and guess the gadget or device that meteorologists use to measure the different elements of the weather.
Audio
The weather forecast and its elements
AEMET. Predicción meteorológicaNow that you know all the elements of the weather, you are going to learn how to be a weather person. If you watch the news or read any newspaper, there is always a section on the weather called the weather forecast. Forecasting the weather is a complex science that requires the study of the weather patterns and also the different elements that we have reviewed in the previous sections. As a result, when you forecast the weather you need to talk about:
a) Temperature
b) Humidity
c) Precipitation
d) Air pressure
e) Wind speed and direction
f) Solar radiation
2.3
It's your turn now!
Can you identify the different weather elements in the picture?
2.3.
Now with a partner, have a look at this picture from the AEMET (Agencia Española de Meteorología) and identify all the elements of the weather. forecast:
Finding out more about the weather in other places.
Using the BBC weather and the AEMET websites, check the weather in a city or village in the United Kingdom (BBC) and another one in Spain (AEMET). One of you will explain the weather conditions of the Spanish village or city and the other one will explain the weather conditions of the British village or city. Discuss the differences.
The weather forecast is the section on the news where you learn about the weather for that day.
In the weather forecast, the weather person speaks about the following elements:
a) Temperature
b) Humidity
c) Precipitation
d) Air pressure
e) Wind speed and direction
f) Solar radiation
Audio
Visual aid
Satellite maps: high and low pressure areas
When studying the weather, satellite pictures play a key role. These pictures show High pressure areas (H) or Anticyclones and Low pressure areas (L). You can learn more about High and Low pressure areas in this video:
When we watch the weather forecast on TV, they show us maps where we can see a lot of lines and the letters H and L. Watch this video to understand the meaning of all these symbols.
Make another screen capture of the day you selected and paste it in a CANVA presentation. Mark the Low and High pressure areas as well.
Your teacher will ask you to project your presentations and compare the two maps in front of your class.
Now it's time to assess your classmates' work. Use the document called "COEVALUACIÓN PRSENTACIÓN" that you can find in the FILE ATTACHMENTS block. Remember to be fair!
Easier to read
Weather maps
You can see satellite pictures in the weather forecast. These pictures show the letters H and the letter L.
The letter H means High pressure areas or Anticyclones.
The letter L means Low pressure areas.
You can also see a lot of jagged lines.
Watch the video to learn more about High and Low pressure areas:
Audio
Preparing your task: Become a weather person!
2.3.
When you watch the weather forecast, the weather person uses certain expressions and vocabulary to describe what the weather will be like. Watch the following video to learn some expressions that you will have to use later in your project.
If you want to be a good weather person, you will need to use more words and expression to describe the weather. Click on the picture below or go to http://www.weather.gov.sg/learn_forecast/to learn some useful language you can use later in your final project.
In groups (max. 4 people), create your own weather map.
Very important: The weather in the map doesn't have to be real. You can make it up!
Once you have your map, you're ready to be the weather person. Make a video presentation for the weather forecast.
How to do it
1. Use a map of the place/country of your choice. You can download the maps of Spain, Europe and the UK in the FILE ATTACHMENTS section down below. You can also find more free maps here: https://d-maps.com/continent.php?num_con=5&lang=es
2. Use the website/app CANVA to add the weather icons. You can use the icons that CANVA provides you with or, if you prefer, you can create your own ones.
You can even ask your teacher to create a class in CANVA so you can work collaboratively in your group.
3. Once your map is finished, it is time to show that you are a real weather person. Use your map to explain the weather of a full day, dividing it into the different periods of time (morning, afternoon, evening, night). Now decide which period of time each person in the group is going to explain.
4. Now you have two options:
a) You can use the Chroma room in your school to record your video.
b) You can use a template in CANVA (called "presentación narrada") to create a video presentation.
5. When your presentation is ready, send it to your teacher in the way he/she tells you. Your teacher will assess your project using a RUBRIC that you can find in the FILE ATTACHMENTS section down below.
6. Enjoy!
Easier to read
Welcome to the weather forecast
Create a weather map. You can work with other classmates. Maximum four classmates.
Very important: The map doesn't have to be real. You can make it up!
Then, you are ready to be the weather person.
Record a video where you show the weather.
How to do it
1. Select a map of a city, province or country.
You can download the maps of Spain, Europe and the UK in the FILE ATTACHMENTS section down below.
2. Use the website/app CANVA to upload your map and add the weather icons.
3. You can ask your teacher to create a class in CANVA, so you can work collaboratively in your group.
3. Use your finished map to explain the weather of a full day.
One person in the group explains the weather of the morning; a second person explains the weather of the afternoon; a third person explains the weather of the evening and another person explains the weather of the night.
4. Now you have two options:
a) You can use the Chroma room in your school to record your video.
b) You can use a template in CANVA (called "presentación narrada") to create a video presentation.
5. Send the presentation or video to your teacher.
Your teacher will assess your project with a RUBRIC.
You can find it in the FILE ATTACHMENTS section down below.
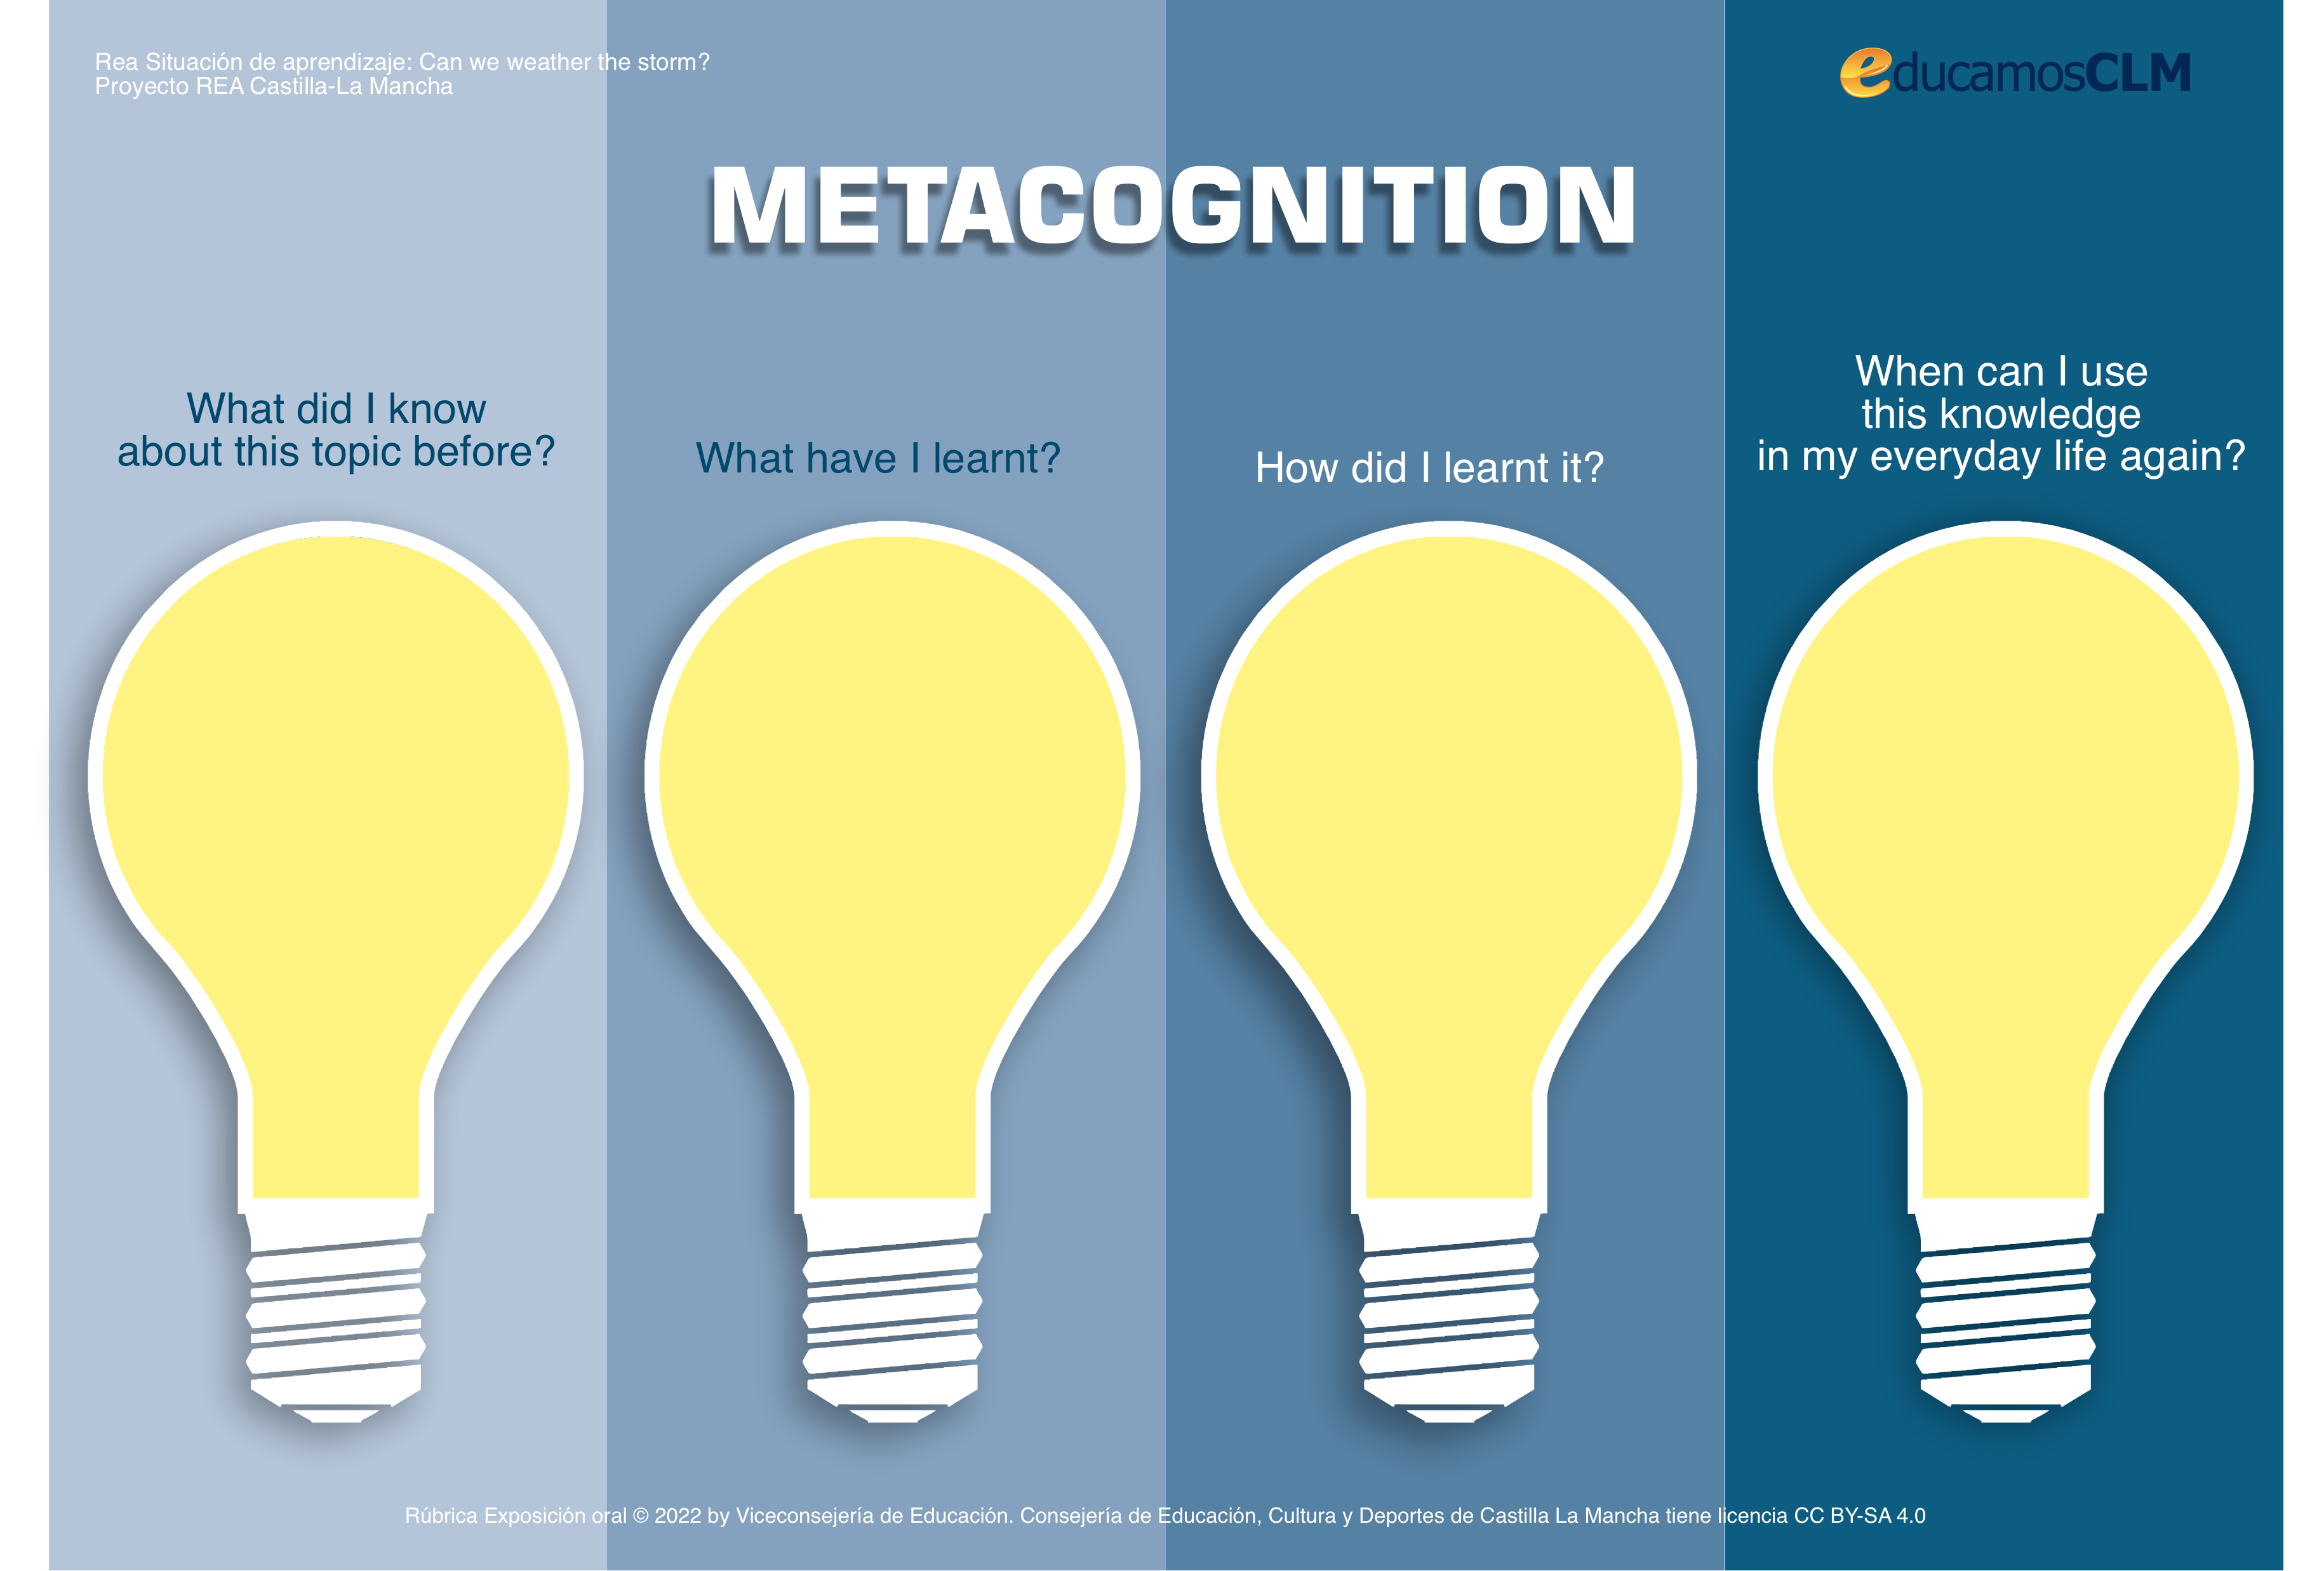
Now it's time for you to reflect on what you have learnt. Use the metacognition self-assessment sheet that you can find in FILE ATTACHMENTS section below and see your progress.
Easier to read
Download the Metacognition sheet from the section called File Attachments.
Reflect on all the things that you have done in this unit.
 First of all, we must study the difference between weather and climate because they're completely different concepts. According to NASA (https://climatekids.nasa.gov/menu/weather-and-climate/) "Weather is a specific event—like a rainstorm or hot day—that happens over a few hours, days or weeks. Climate is the average weather conditions in a place over 30 years or more."